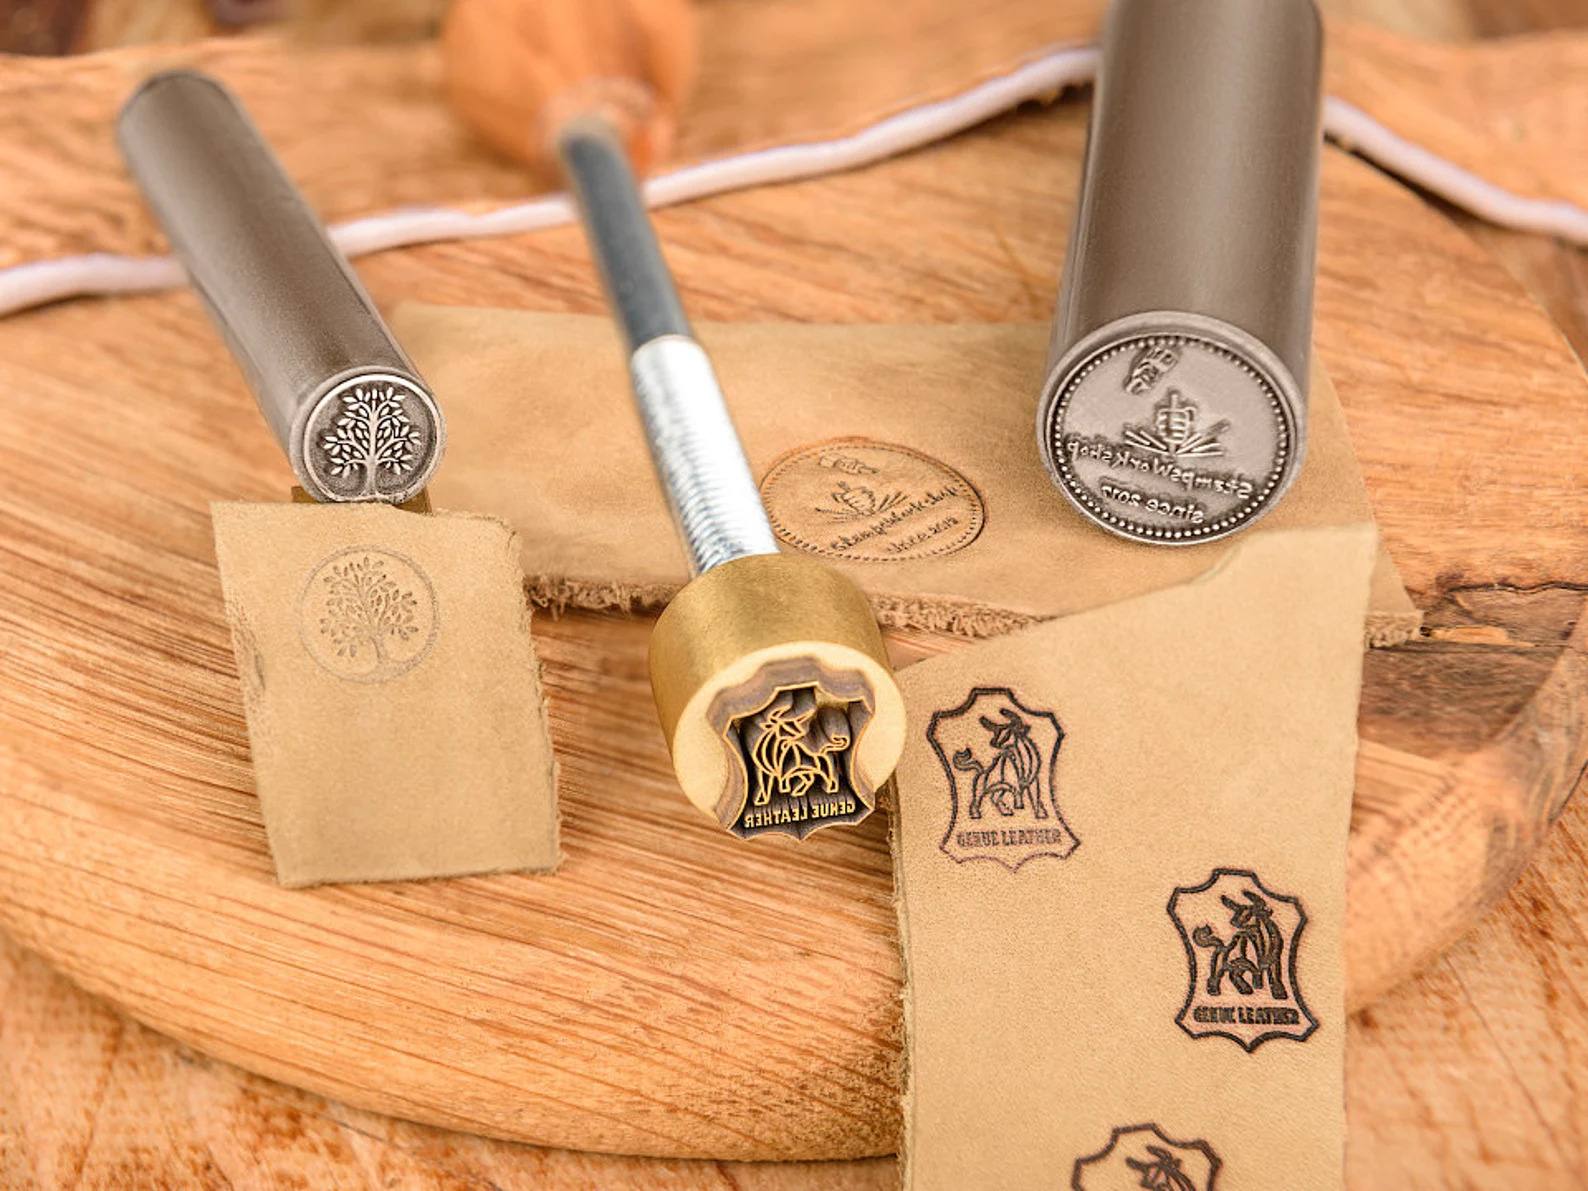
You’ve got your logo ready, your leather wallets or wooden boards are waiting and now you’re thinking about getting a custom branding iron. But here’s the question. will it leave a sharp, clean mark or turn your beautiful logo into a blurry mess? A few smart choices before ordering can make all the difference.
Choosing the right branding iron comes down to 4 things: the material you’re marking, your logo design, the size and detail of the branding head and the heating method. Each one affects how your final mark looks, so it’s worth getting these details right before placing your order.
Let’s make this easier. We’ll walk through materials, branding frequency, heating options, head size, artwork, pricing and delivery times. By the end, you’ll know what to look for and how to order an iron that gives you clean, consistent marks without unnecessary back-and-forth.
Define What You Want Your Custom Branding Iron to Mark
First, think about what you actually want your branding iron to mark. Are you adding your logo to leather wallets, personalizing wooden boards, or putting your name on products? Each job has different needs and knowing your purpose helps you choose the right head size, heat and design.
Next, get a little more specific. What materials will you be working with? Do you want your logo alone, or should the iron also include a business name, initials, date, or short message? Write down these details before requesting a quote.
Why does this matter? Because a clear idea makes it much easier to create an iron that suits your products. You’ll also avoid making changes after production starts. and nobody wants that kind of delay!
Why Material Compatibility Matters When Ordering a Branding Iron
Here’s something you shouldn’t overlook. not every material reacts to heat in the same way. An iron that leaves a beautiful mark on wood might burn leather too deeply or melt certain plastics. That’s why matching your branding iron to your material is so important.
Short Order Products offers branding irons for wood, leather and certain plastics. The USDA’s Wood Handbook also explains how wood density and moisture affect its physical properties, including how it responds to heat. So, what should you check before ordering? Keep these 6 factors in mind:
- Wood Type and Density: Hardwoods and soft pine are not equal when it comes to reacting to heat. A light mark can be left on one type of wood and a dark mark on another, all from the same iron.
- Leather Surface: Smooth, tooled and finished leather can all react differently. Lower, sustained temperatures may allow for more control than using a very hot iron too rapidly.
- Plastic Heat Sensitivity: Certain plastics will soften or melt under heat. Only compatible types can be used for branding; please check for compatibility prior to ordering.
- Material Thickness: The iron may scorch or warp thin materials if it is not properly adjusted, and thicker materials may retain heat differently.
- Surface Finish: The surfaces should be clean, dry, and well prepared; rough, oily, and coated surfaces will not yield the same results.
- Heat Tolerance: Test the materials to determine how much heat they can withstand, then select the wattage and heat source which will provide greater control.
For instance, a wooden board requires a different level of heat and pressure to brand as a leather wallet does. Once you know what you’ll be working with, choosing the right iron becomes much easier.
How Branding Frequency Influences Your Custom Iron Specifications
How many times will you use your branding iron? For handmade gifts, once in a while, or every day to mark hundreds of products? This small question makes a big difference because an iron designed for occasional projects may not keep up with a busy production line.
Your usage also helps determine the heating method, wattage and construction you need. Let’s take a look at how to get your branding in sync with your setup:
- Occasional Projects: If you’re looking to brand a gift, a few products from time to time, or hobby items, a handheld iron might be the best solution for you. For these jobs, flame or propane heating may be feasible as well.
- Small Batch Production: When you’re branding short product runs, choose an iron that reheats consistently. You want the first mark and the fiftieth to look just as clean.
- Daily Workshop Use: Regular branding calls for steady heat. Electric irons are often a convenient choice because you don’t have to keep returning to an open flame.
- High-Volume Operations: For large production runs, equipment that can be used repeatedly is required. Higher-wattage irons, drill press styles and sturdy construction can make the work easier.
- Repeated Marking Tasks: If you’re branding the same product throughout the day, consistent heat and positioning help keep every impression looking alike.
Think about your busiest working day, not just an average one. you don’t want to order an iron that struggles when production picks up. Choosing equipment that matches your workload can save you time and frustration later.
Which Heating Method Should You Specify for Your Custom Branding Iron?
An electric branding iron is a good option for regular use as it will provide constant heat; a propane- or flame-heated iron may be better for mobility. It’s a matter of preference, and it can be used as frequently or infrequently as needed, depending on the brand, your location, and level of control.
Still not sure which one is suitable for you? Before you make your decision, let’s do a comparison between all 3 heating methods at 7 important points:
| Point | Electric | Flame-heated | Propane-heated |
| Heat control | Provides steadier heat while connected to power. | Heat changes with the flame, so you need to judge it carefully. | Easier to manage than an open fire, but still requires manual control. |
| Setup | Needs a power outlet and a safe working space. | Needs a fire source and a safe, open area. | Needs a propane burner and tank, set up outdoors. |
| Portability | Limited by access to electricity. | Easy to move wherever you can safely light a fire. | Portable with a tank, but heavier to carry. |
| Best for frequency | Daily and high-volume branding. | Occasional projects. | Occasional to moderate use. |
| Consistency | Maintains steadier heat between impressions. | Heat can rise and fall depending on the flame. | Depends on how well you control the burner. |
| Recovery between marks | Reheats steadily at a set wattage. | Needs time back in the fire. | Needs time back at the burner. |
| Safety notes | Follow the maker’s instructions and unplug when finished. | Keep a clear, non-flammable area and wear protection. | Use outdoors with good ventilation and follow tank safety rules. |
Now, which one makes the most sense for you? Consider an electric iron if you brand products frequently and have electricity available. If you are looking for something more mobile, for occasional projects or jobs, then flame or propane heat would be more appropriate.
There’s no need to choose the most powerful option just because it sounds impressive. go with the one that fits your actual working conditions.
How Branding Head Size and Design Complexity Affect Your Order
Your branding head needs enough space to show your logo clearly without making the design look crowded. A larger head also needs more heat, while tiny details can become difficult to reproduce if they’re too close together. Here are some details you should consider before approving your design:
- Branding Area: Determine the area that will be used for your logo. The branding head should be comfortable while not taking up too much space.
- Logo Scale: If the logo is too small, it may lose details and if it is too big, it can put too much heat on the material. Select the appropriate size for a product.
- Fine Details: Fine details such as thin lines, small shapes and small gaps can become fuzzy when heated. Be sure to keep the design simple so it can leave an impact.
- Letter Spacing: Provide sufficient letter spacing. If they are too close together, the heat will cause them to merge and appear as one big mess.
- Head Shape: Flat, round and custom-shaped heads are suitable for a variety of products. Think about the surface and how you’ll hold or position the iron.
For example, a small logo on a leather wallet needs a different head size than a large design on a wooden serving board. Don’t just focus on how your logo looks on your computer screen. think about how it will appear once it’s burned onto your actual product.
5 Artwork Details to Finalize Before Submitting Your Logo
Your branding iron can only reproduce the details your artwork provides. So, if your logo is blurry, cramped or has a lot of fine details, the overall effect might not be what you had in mind. Here are 5 things to look at before sending your design off to the maker:
- File Format: Make sure it’s a clear and high-quality JPEG or TIFF. As the Library of Congress says, image quality is critical and JPEG compression may cause loss of information.
- Single-Color Design: A branding iron does not produce a full-colour image, merely one colour. Colour blending, shades and gradients will not carry over from the way they look on your screen, so keep to solid shapes.
- Line Thickness: Very fine lines can become invisible or indistinct after being burned into wood or leather. Make them thick and give sufficient intervals between shapes to make them visible.
- Orientation: Determine the direction of your logo’s orientation while branding. Some designs must be mirrored onto the branding head so that it will look good on the finished product.
- Final Size and Proof: Specify the width and height that you desire. Check every letter, shape and spacing detail before approving the final artwork.
Here’s a little tip. don’t rush through the artwork approval. One small mistake in your logo can become a permanent part of every product you brand. It’s much easier to correct a design before the iron is made than to deal with a whole batch of products carrying the wrong impression!
What to Know About Custom Branding Iron Pricing and Lead Times
The cost and delivery time of a custom branding iron depend on your design, head specifications, heating method and any extra features you request. Understanding what affects your order helps you plan ahead and avoid last-minute surprises. Here are the things worth checking before you request a quote:
- Custom Design Complexity: Detailed logos with tiny lines and complex shapes take more time to prepare and cut. Simpler designs are generally easier to produce.
- Branding Head Specifications: Larger heads, unusual shapes and additional materials can increase production costs.
- Heating Equipment Selection: Electric, flame-heated and propane-heated options have different costs. Higher-wattage models generally cost more.
- Additional Customization: Special handles, mounting options and drill press setups may add to the cost and production time.
- Production and Shipping Timelines: Standard items ship quickly, while custom pieces take roughly 1 week. If you need your iron for an upcoming project, order early.
- Custom Order Return Policies: The 15-day return window applies to non-custom orders. Custom pieces are excluded, so review your artwork and specifications carefully before approving the order.
A little planning goes a long way here. Have your artwork, material details and preferred heating method ready before requesting a quote. it makes the whole ordering process much smoother.
Get Your Own Custom Logo Branding Iron With Short Order Products!
Got your logo ready? Short Order Products offers electric, flame-heated and propane-heated branding irons in handheld and drill press styles. With wattages ranging from 40 to 500, you can explore different options for branding wood, leather and certain plastics.
You can also browse custom, electric and wood branding irons in one place. So, whether you’re adding a small logo to handmade products or branding items regularly in your workshop, there’s a range of options to explore.
For a custom logo iron, simply send your design as a JPEG or TIFF. The team can use your artwork to create a branding iron suited to your marking needs. Standard items ship quickly, while custom pieces take about 1 week, giving you time to plan your next project.
Your logo deserves to be recognised and a messy impression won’t do it any favours! Request a free quote today and get a custom branding iron that leaves a sharp, lasting mark on the products you make.
Frequently Asked Questions (FAQs)
Q1. What materials can a custom branding iron mark?
Branding irons can mark wood, leather and certain plastics. Always confirm your material with the maker because different surfaces handle heat differently.
Q2. Is an electric or flame-heated branding iron better?
Electric irons offer steadier heat for regular use, while flame and propane-heated irons suit occasional or portable jobs. Choose based on your workload and workspace.
Q3. What file format works for a custom logo branding iron?
A clear, high-quality JPEG or TIFF works well. Simple, single-colour designs with clear lines and enough spacing usually produce better impressions.
Q4. How long does a custom branding iron take to make?
Custom branding irons typically take about 1 week to ship, depending on your design and order details. Send your artwork early to avoid delays.