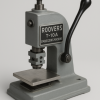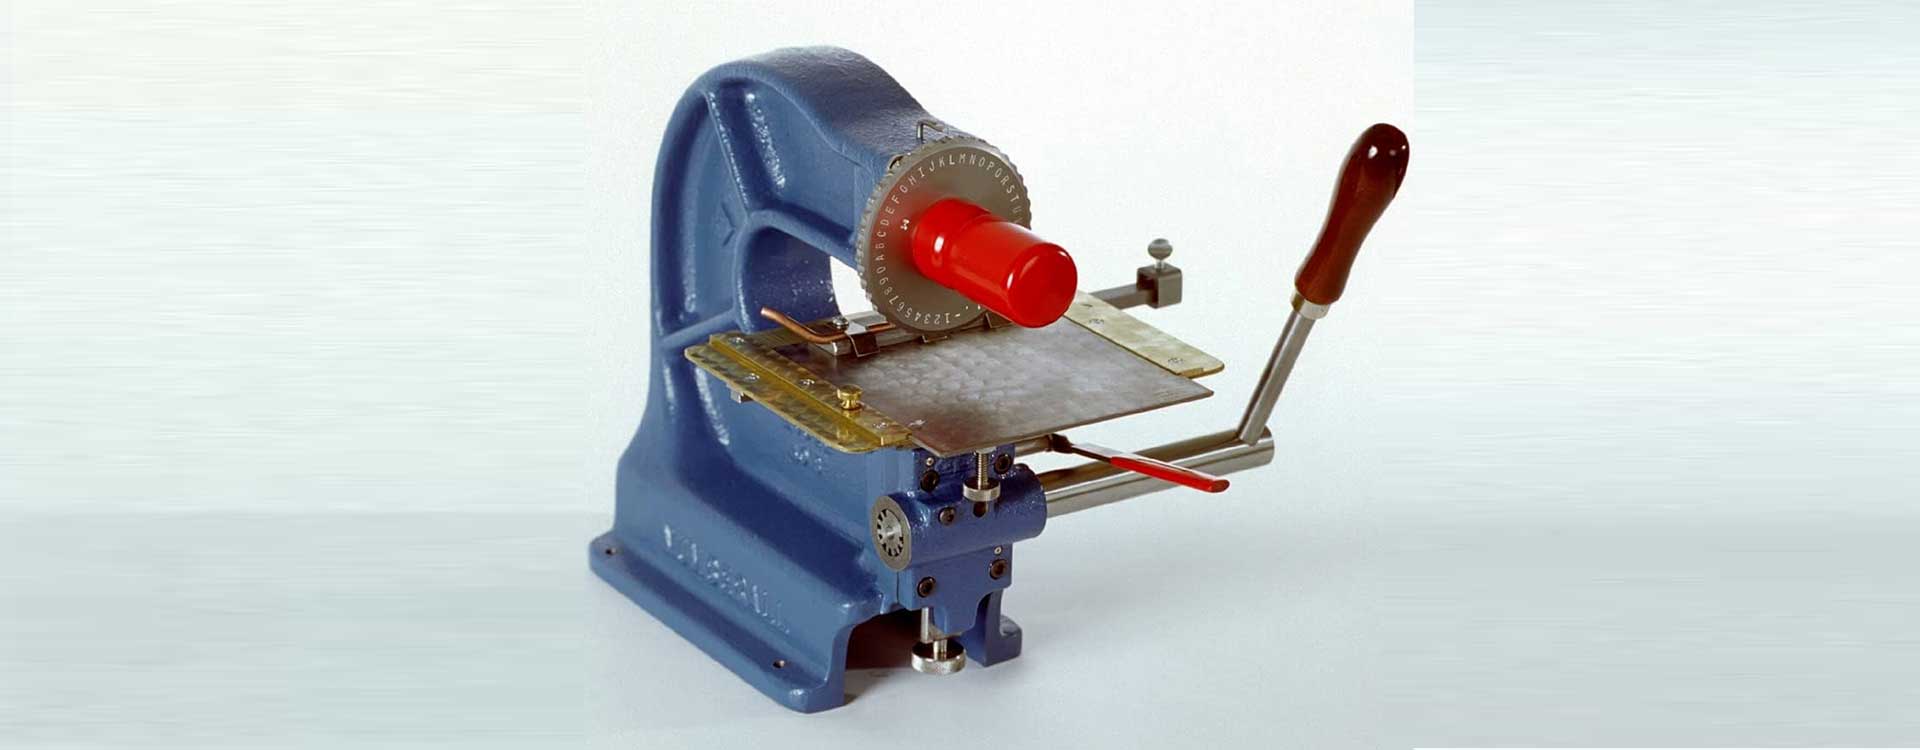
A clean mark can speak volumes. It tells you when a product was made, where it belongs, or what batch it came from. The Model 40B Numbering & Lettering Press by Short Order Products is made to help you do that quickly and clearly. This manual press works well for everyday stamping and gives you full control over how each mark turns out. It’s easy to operate, holds up well over time, and doesn’t slow you down. So how do you get the best, most consistent results from it? Here’s what we recommend.
1. What Kind of Material Are You Using with the Model 40B Numbering & Lettering Press?
Before you press down that first mark, it’s worth taking a quick look at the surface you’re stamping. Different materials react in their own way. Some need to be handled gently, while others require more pressure. Getting this right means fewer mistakes and cleaner results.
Here are a few common materials and how they handle stamping:
-
Paper or Cardboard
Great for quick jobs. These need light pressure and careful handling so you don’t tear through. A little goes a long way here.
-
Plastic Tags
Some plastics take marks well, others can be slippery or soft. Always test a sample to see if the imprint holds or needs adjustment.
-
Metal Plates
If you’re stamping aluminum or brass, you’ll need a steady hand and firmer pressure. These surfaces are tougher but take crisp marks when done right.
-
Coated or Glossy Surfaces
These can be tricky. Ink might smudge or not stick at all. In this case, dry stamping or a special ink pad might work better.
2. Choose the Right Setup Style
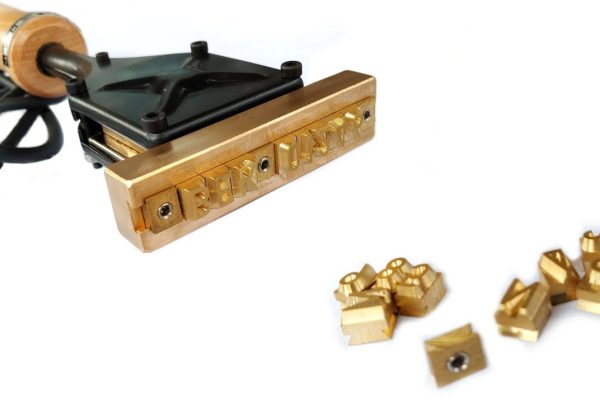
How you set up your stamp affects the quality of every mark. The Model 40B lets you use either rotating bands or steel type, and both need careful placement for clean, even results.
- If using bands: Center each character fully before stamping.
- If using steel type: Insert each piece straight, snug, and tighten the holder.
3. Replace Worn Characters
Stamping the same codes over and over can take a toll on certain characters. That “7” might start fading, or the “A” no longer stamps as clearly as it used to. That’s not just a minor glitch. It’s your press telling you that it’s time for a quick fix. Even though we make our bands and types to last, they still wear out like any good tool. Replacing just one tired-looking letter or number can make a big difference in how your marks turn out..
Therefore, we always suggest keeping a few backup characters nearby, especially the ones you rely on the most. You don’t want to stop mid-job to hunt for a replacement. In addition, before starting a batch, give your type or bands a quick look. Catching wear early saves time, avoids messy imprints, and keeps your work consistent from the first piece to the last.
4. Use Consistent Pressure
Every good mark starts with the right amount of pressure. With the Model 40B Numbering & Lettering Press, you’re in complete control, which is great, but that also means it’s up to you to keep things steady. Push too lightly, and the mark might barely show. Go too hard, and you could damage the surface. Getting it just right makes all the difference.
Here’s how to stay consistent and get better results with less trial and error:
- Press carefully: You don’t need to push with all your strength. Instead, a firm, even press gets the job done without stressing the material.
- Skip the fast jabs: Quick or uneven movements can lead to blotchy marks. A slow, controlled press makes each impression look cleaner.
- Start with a test run: Try a few stamps on scrap material first. That way, you will get an idea about how much pressure works best.
- Use both hands if needed: Some people prefer guiding the lever with one hand and holding the base with the other. It can make the motion more balanced.
- Find your flow: After a few tries, your hands will naturally learn what works, and as a result, your marks will start to look more even without much effort.
5. Keep Your Workspace Ready
How your workspace looks can shape how your stamping session goes. A neat, well-prepared area helps you work faster and avoid mistakes. Instead of scrambling to find tools or parts, everything should be within easy reach so you can stay focused on the task.
Here’s how to make your setup work better for you:
- Place your press on a firm, level surface so it doesn’t shift while you’re working.
- Keep extra type pieces, character bands, and small tools like tweezers or gloves close by.
- If you use tiny letters or numbers, a magnifier can make setup easier and more accurate.
- Use small, labeled containers to store your parts. You’ll spend less time searching and more time stamping.
Why Should You Trust Our Model 40B Press?
All in all, some jobs need speed, some need accuracy, and others need a bit of both. The Model 40B Numbering & Lettering Press handles it all. You can stamp a handful of tags or go through a small batch easily. This press keeps up and gets the job done right.
At Short Order Products, we provide you with tools that help you work smarter. The Model 40B is strong, simple to use, and made for clear, repeatable marks. Moreover, it fits right into your process and helps you keep moving without slowdowns. With a good setup, your stamping results come out clean and professional every time.
Visit our store and purchase the Model 40B Press today!
FAQs
1. Can I mark curved or uneven surfaces with the 40B?
Yes, slightly curved surfaces can be marked with the right fixture or support. Flat surfaces are easier, but with the right setup, you can still get clean results.
2. How can I tell if my bands need replacing?
If a particular character is starting to fade or looks different from the rest, it’s likely worn. Inspect it closely or stamp a test piece to confirm.
3. Does this press work well for short production runs?
Absolutely. That’s one of its strengths. It’s fast to set up, easy to use, and ideal for small batches or on-demand marking.
4. Is this press difficult to learn?
Not at all. Most users get the hang of it quickly. Once you do a few test stamps, the process becomes simple and easy to repeat.
People Also Ask
What surface is good for practice?
Generally, a smooth, flat piece of cardboard or plastic is a great pick for practice stamps. That way, you can first test your setup and pressure before moving on to the actual items.
How do I take care of my stamp parts?
After each use, it’s a good idea to wipe them clean to remove any dust or ink. Over time, if any pieces look worn or damaged, go ahead and replace them to keep your marks looking sharp.
Can I use this press for different tasks?
Yes, and in fact, that’s one of its strong points. It handles a variety of small stamping jobs with ease, making it useful in many offices.